Chan_SCCP & SCCP Manager 应用
目录:
- 一、Chan_SCCP & SCCP Manager 介绍
- 二、Debian 10 安装
- 三、Asterisk 18 LTS 安装
- 四、FreePBX 16 安装
- 五、Chan_SCCP 安装
- 六、SCCP Manager 安装
- 七、SCCP 配置添加CISCO 6941 6921 话机
1、安装MariaDB.
apt upate
apt -y install mariadb-server mariadb-client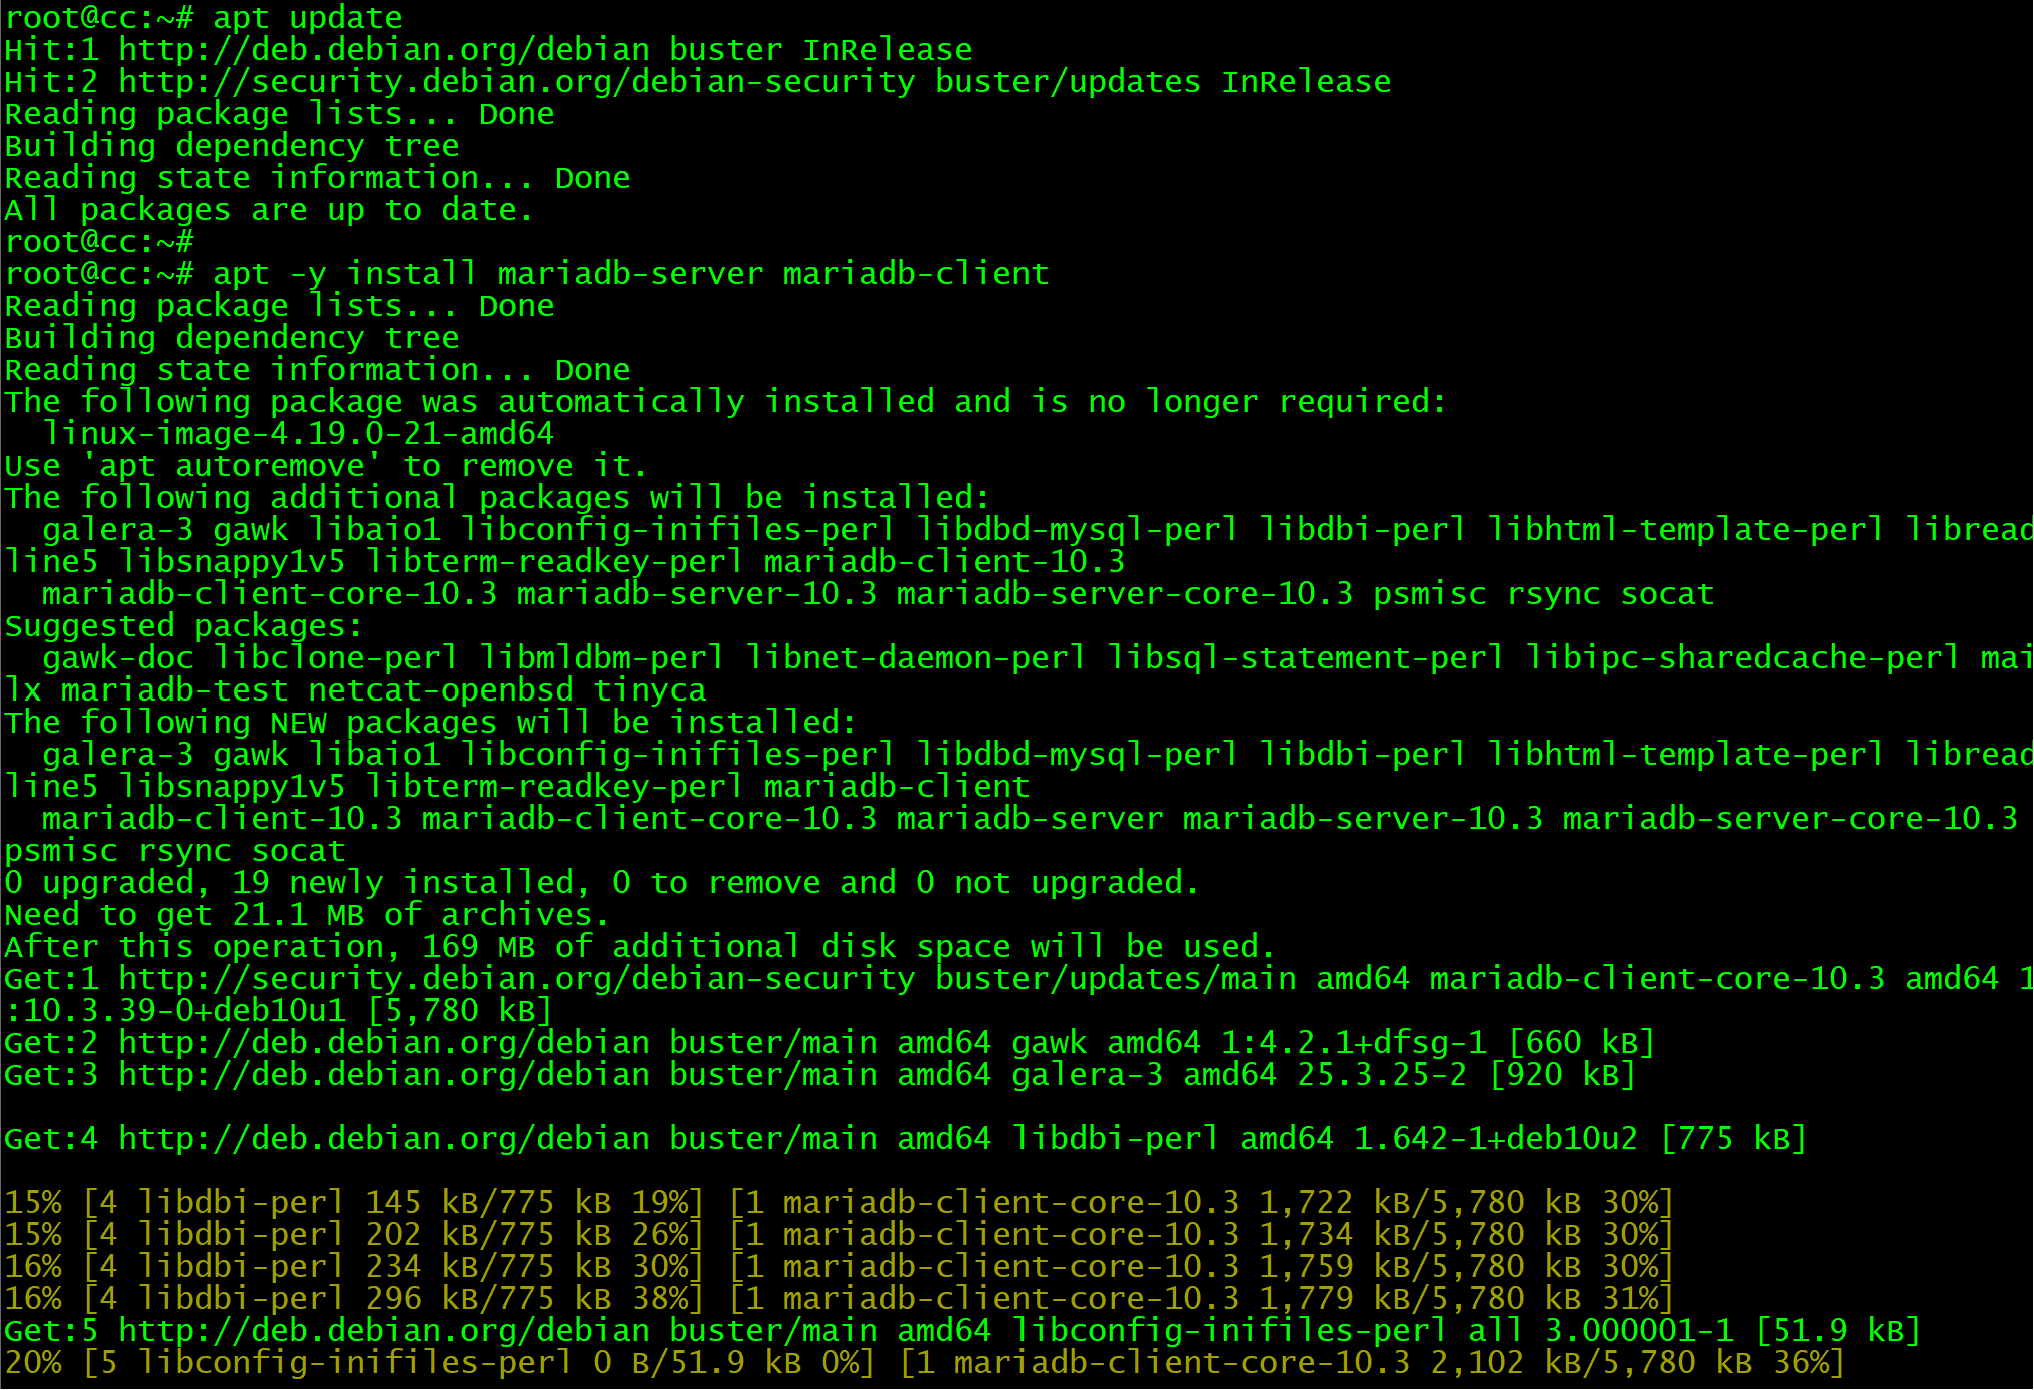
…………………………………
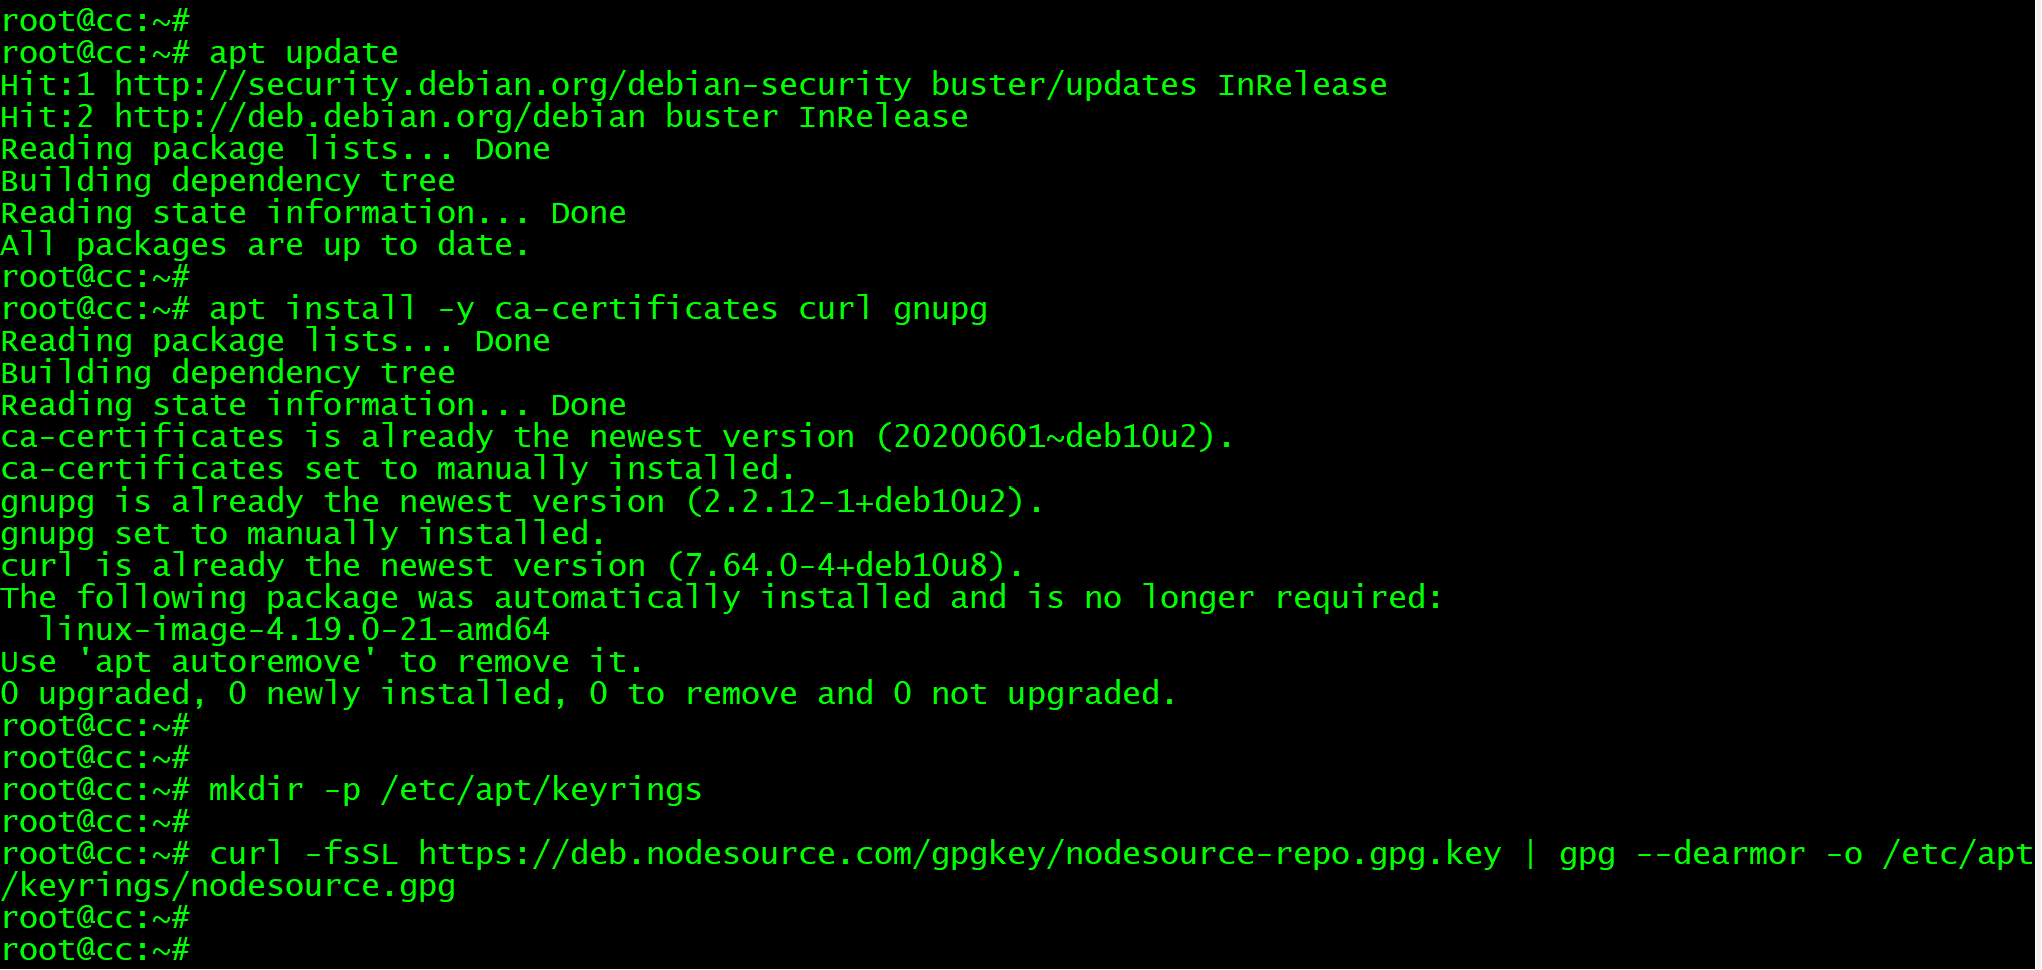
2、安装NODE.JS .
apt update
apt install -y ca-certificates curl gnupg
mkdir -p /etc/apt/keyrings
curl -fsSL https://deb.nodesource.com/gpgkey/nodesource-repo.gpg.key | gpg --dearmor -o /etc/apt/keyrings/nodesource.gpg
…………………………………
NODE_MAJOR=18
echo "deb [signed-by=/etc/apt/keyrings/nodesource.gpg] https://deb.nodesource.com/node_$NODE_MAJOR.x nodistro main" | tee /etc/apt/sources.list.d/nodesource.list
…………………………………
apt update
apt install nodejs -y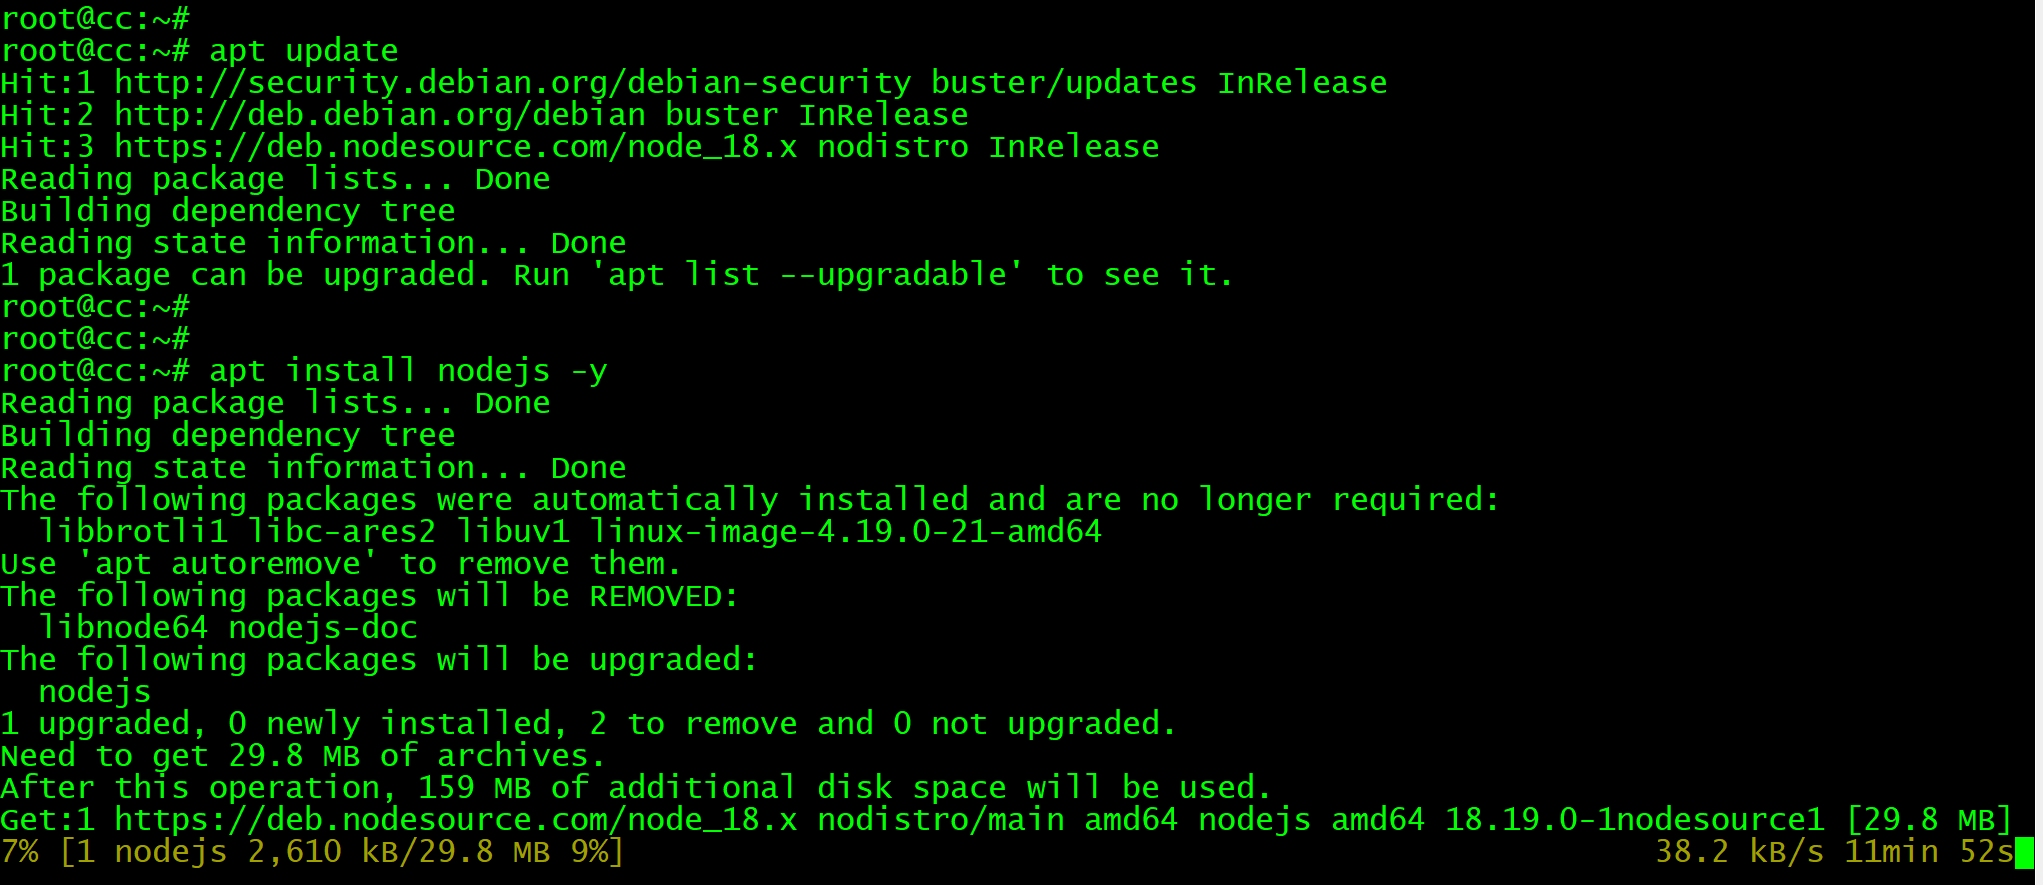
…………………………………
检查NODE.JS版本
node -v
…………………………………
3、安装配置Apache.
apt -y install apache2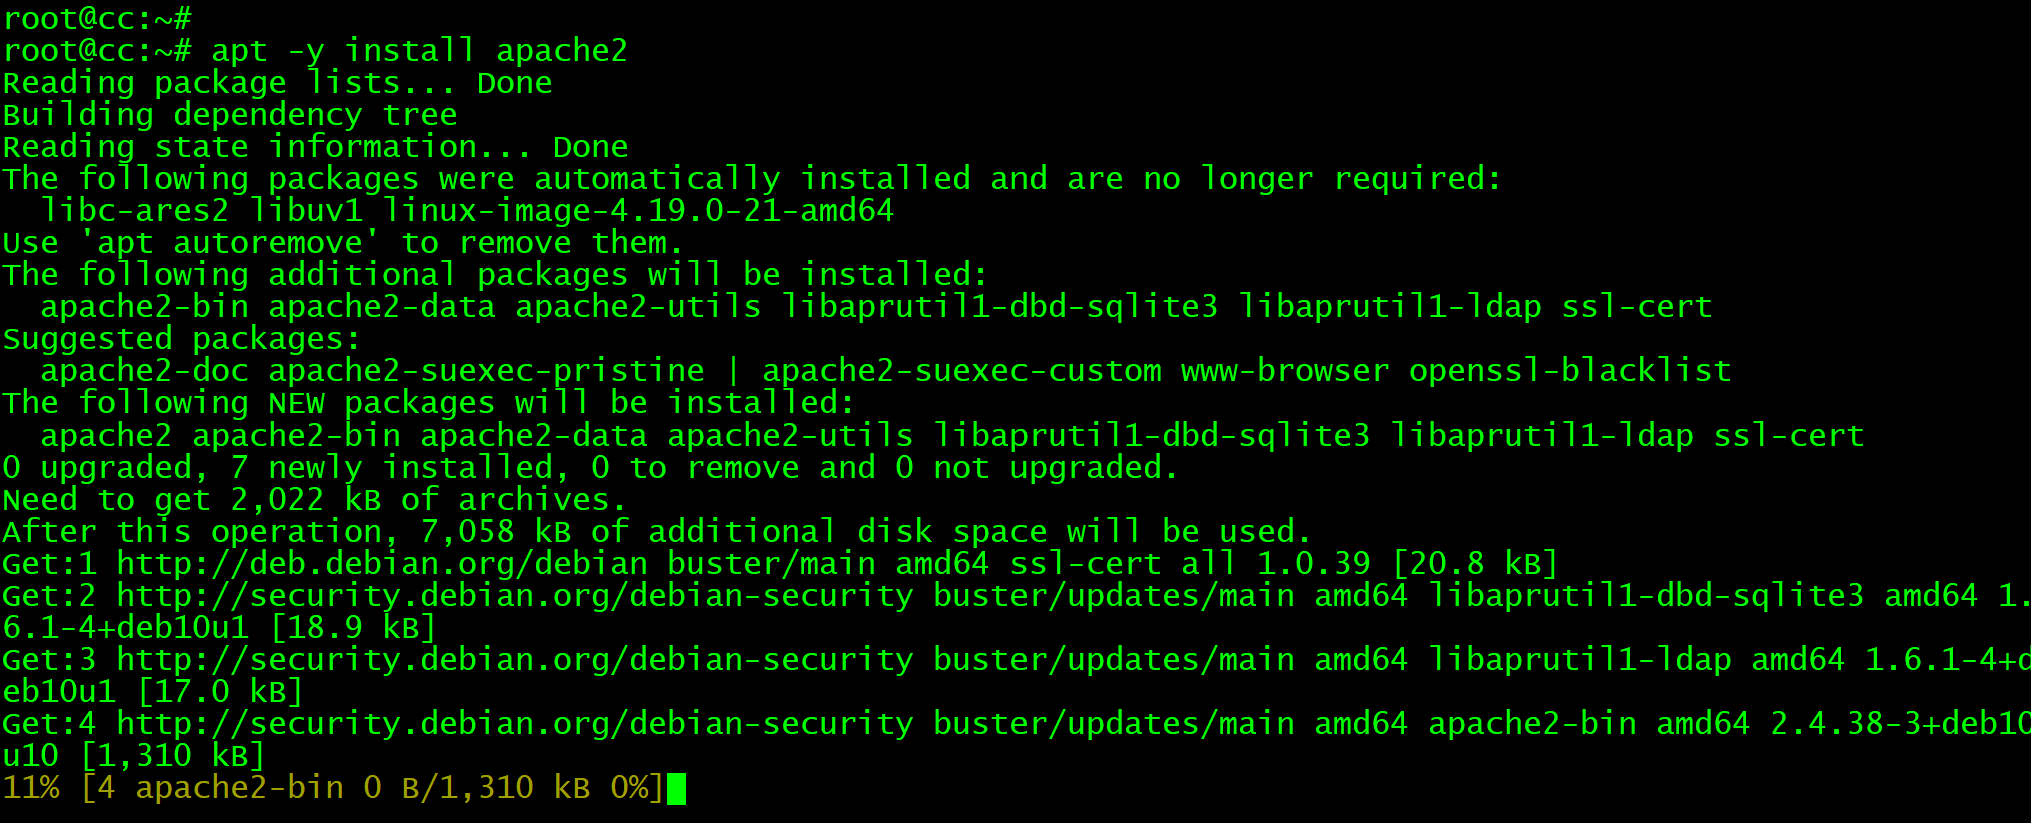
…………………………………
4、Apache配置Asterisk用户.
cp /etc/apache2/apache2.conf /etc/apache2/apache2.conf_orig
sed -i 's/^\(User\|Group\).*/\1 asterisk/' /etc/apache2/apache2.conf
sed -i 's/AllowOverride None/AllowOverride All/' /etc/apache2/apache2.conf
…………………………………
5、删除默认的index.html页面.
rm -f /var/www/html/index.html
unlink  /etc/apache2/sites-enabled/000-default.conf
…………………………………
6、安装PHP依赖.
apt install -y lsb-release ca-certificates apt-transport-https software-properties-common gnupg2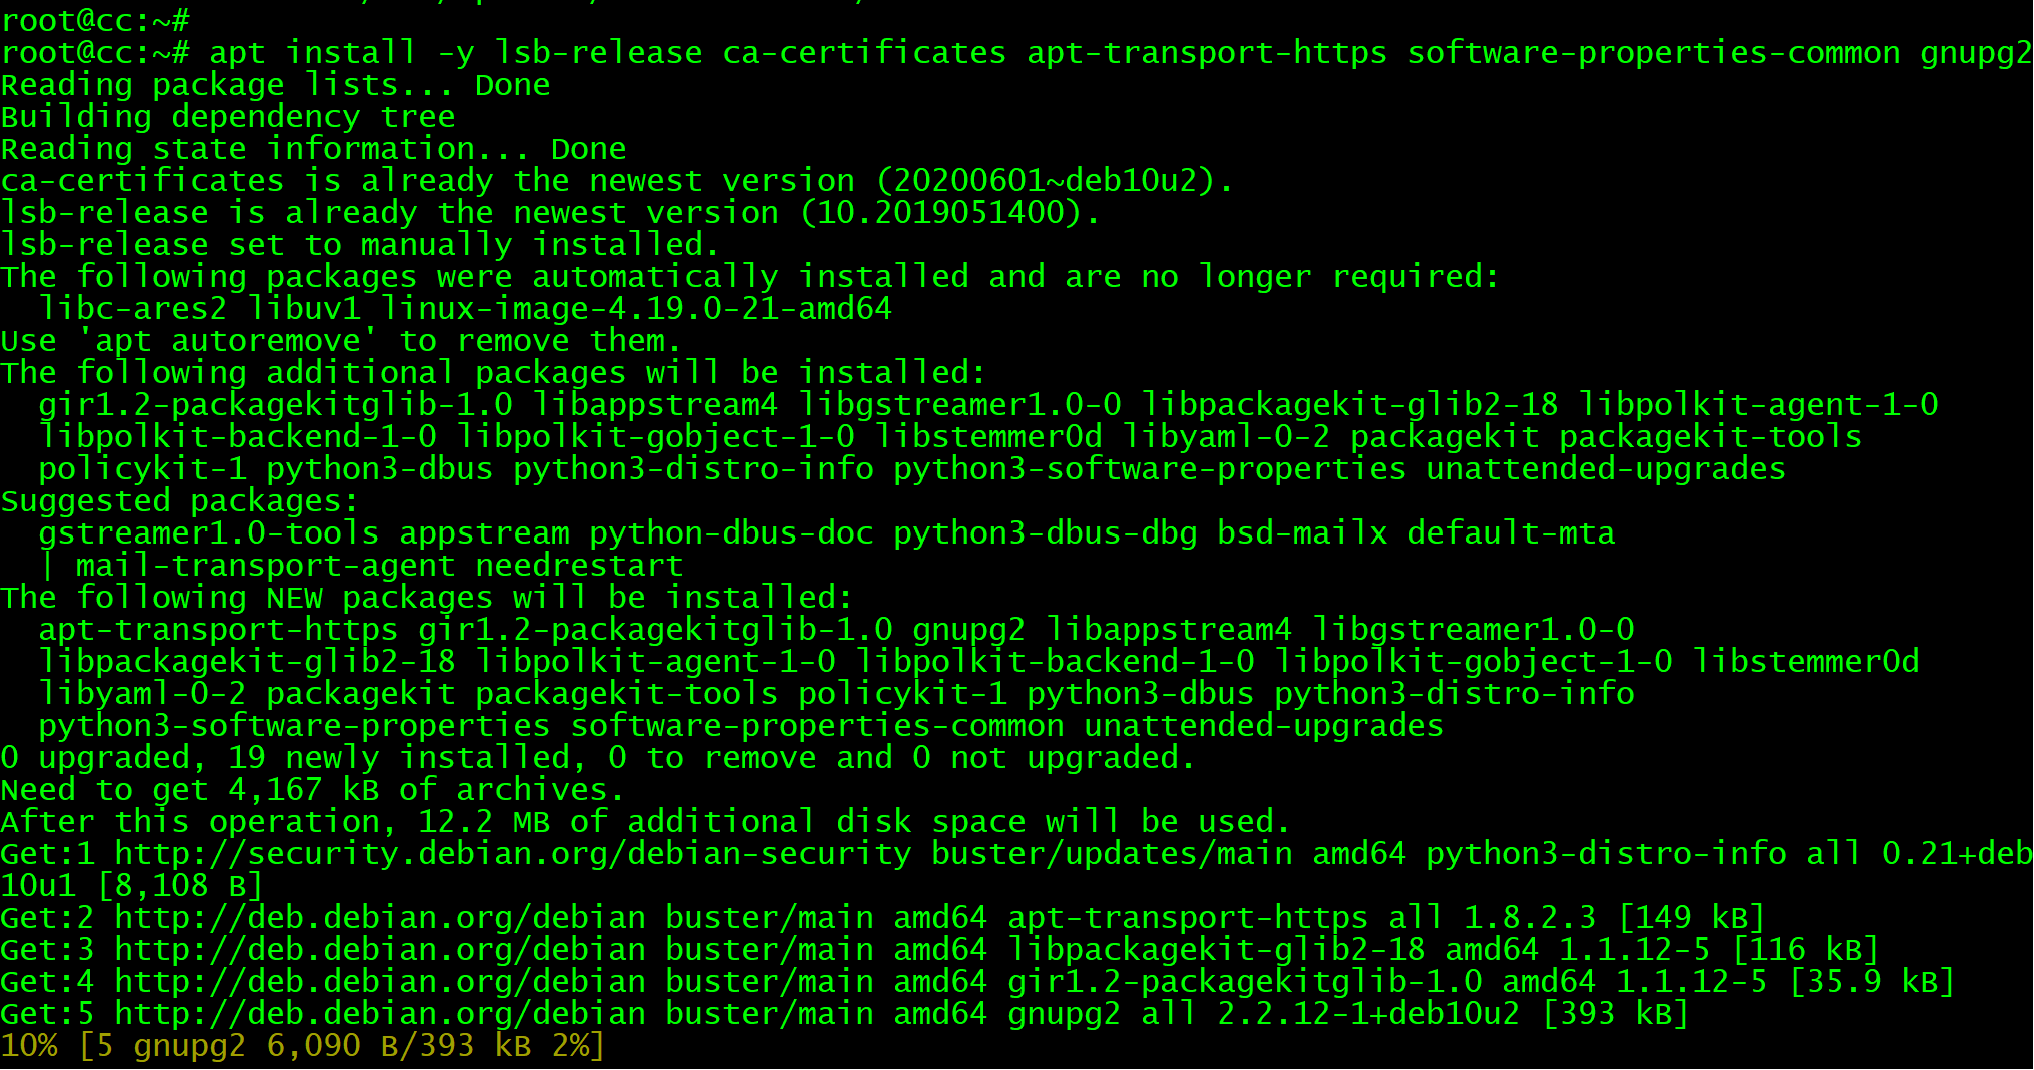
…………………………………
7、添加PHP源.
echo "deb https://packages.sury.org/php/ $(lsb_release -sc) main" | tee /etc/apt/sources.list.d/sury-php.list
…………………………………
8、导入源KEY.
wget -qO - https://packages.sury.org/php/apt.gpg | apt-key add -
…………………………………
9、删除当前版本PHP.
apt remove php*
…………………………………
10、安装PHP7.4依赖.
apt update
apt install php7.4-{mysql,cli,common,imap,ldap,xml,fpm,curl,mbstring,zip,gd,gettext,xml,json}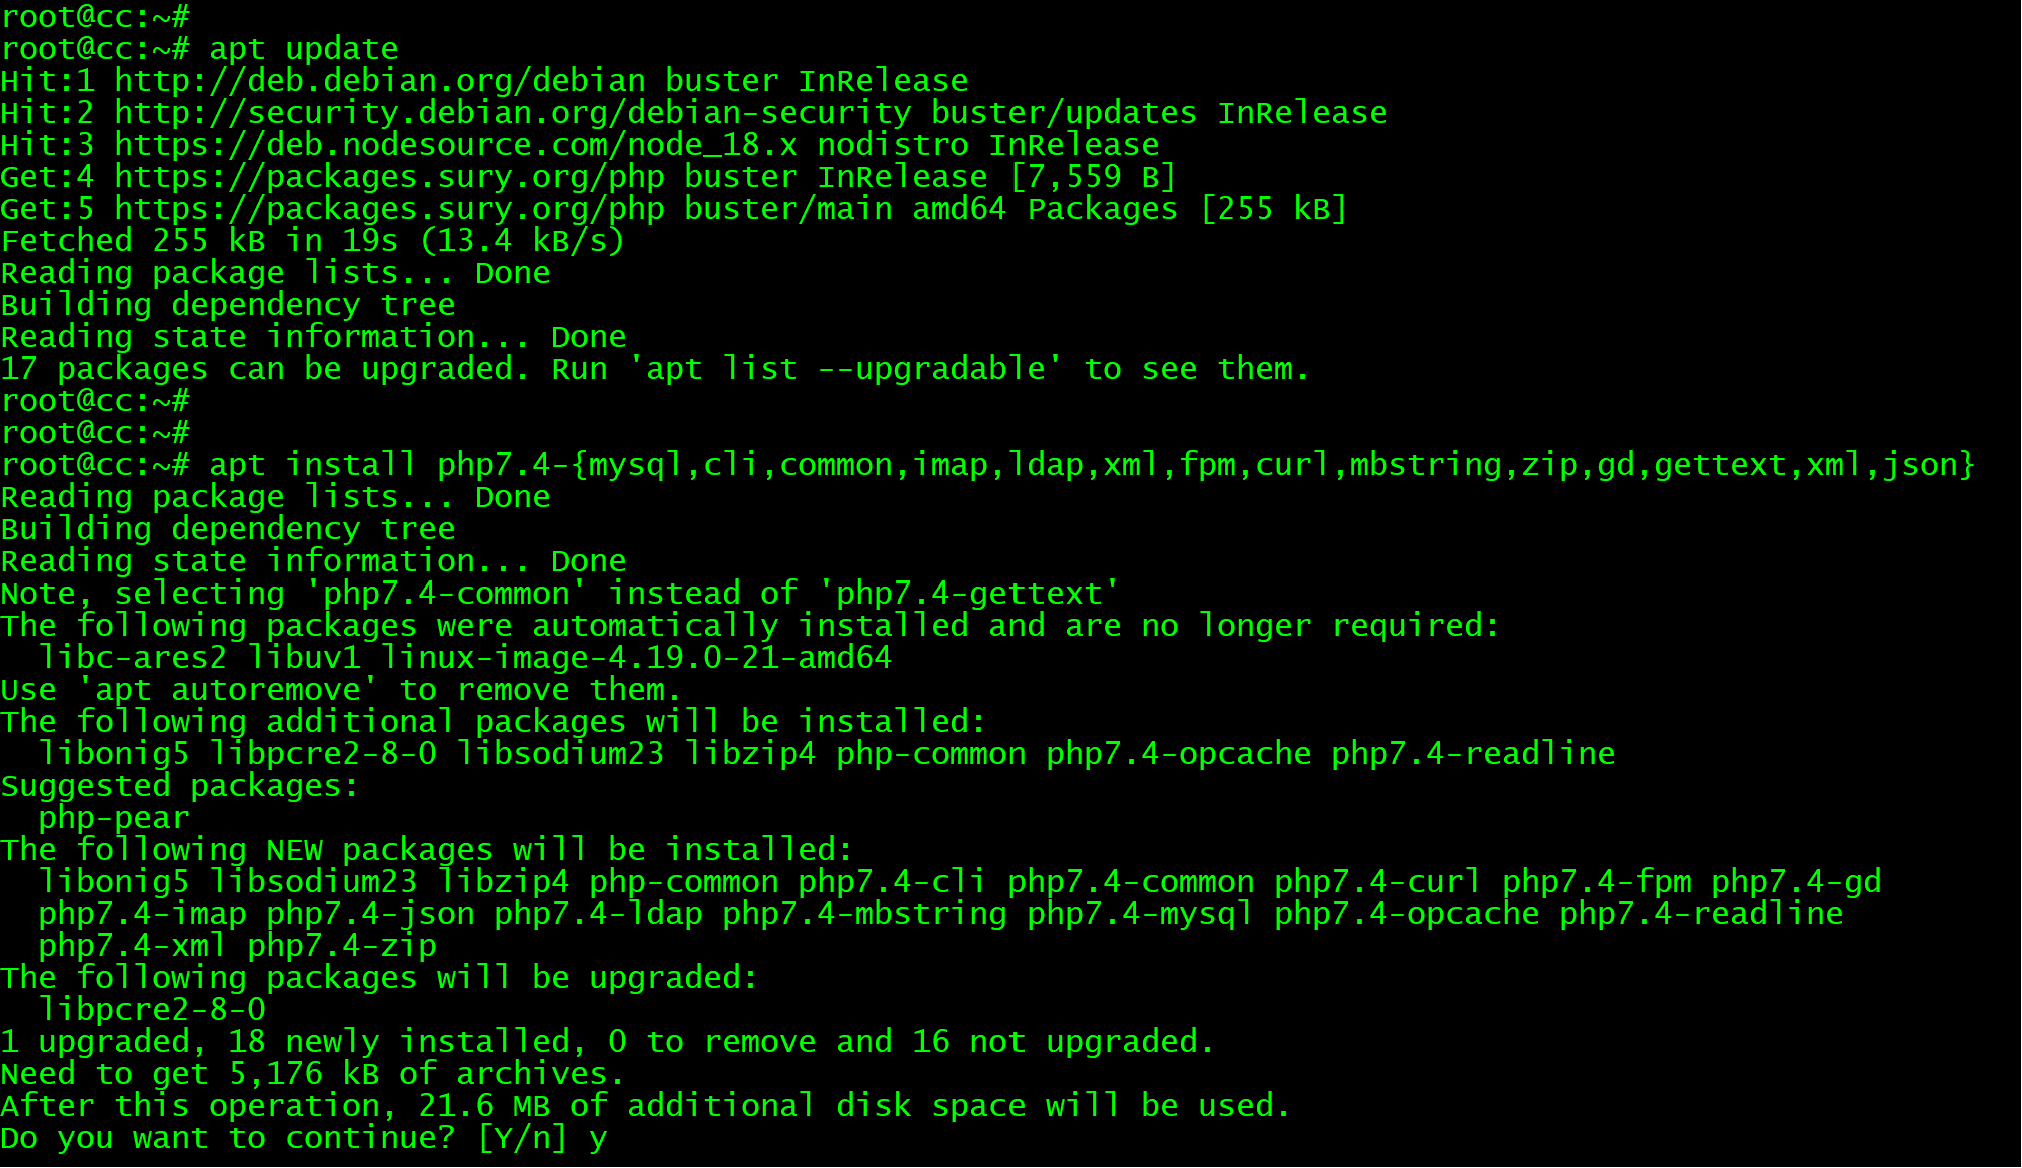
…………………………………
11、安装Apache模块.
apt install libapache2-mod-php7.4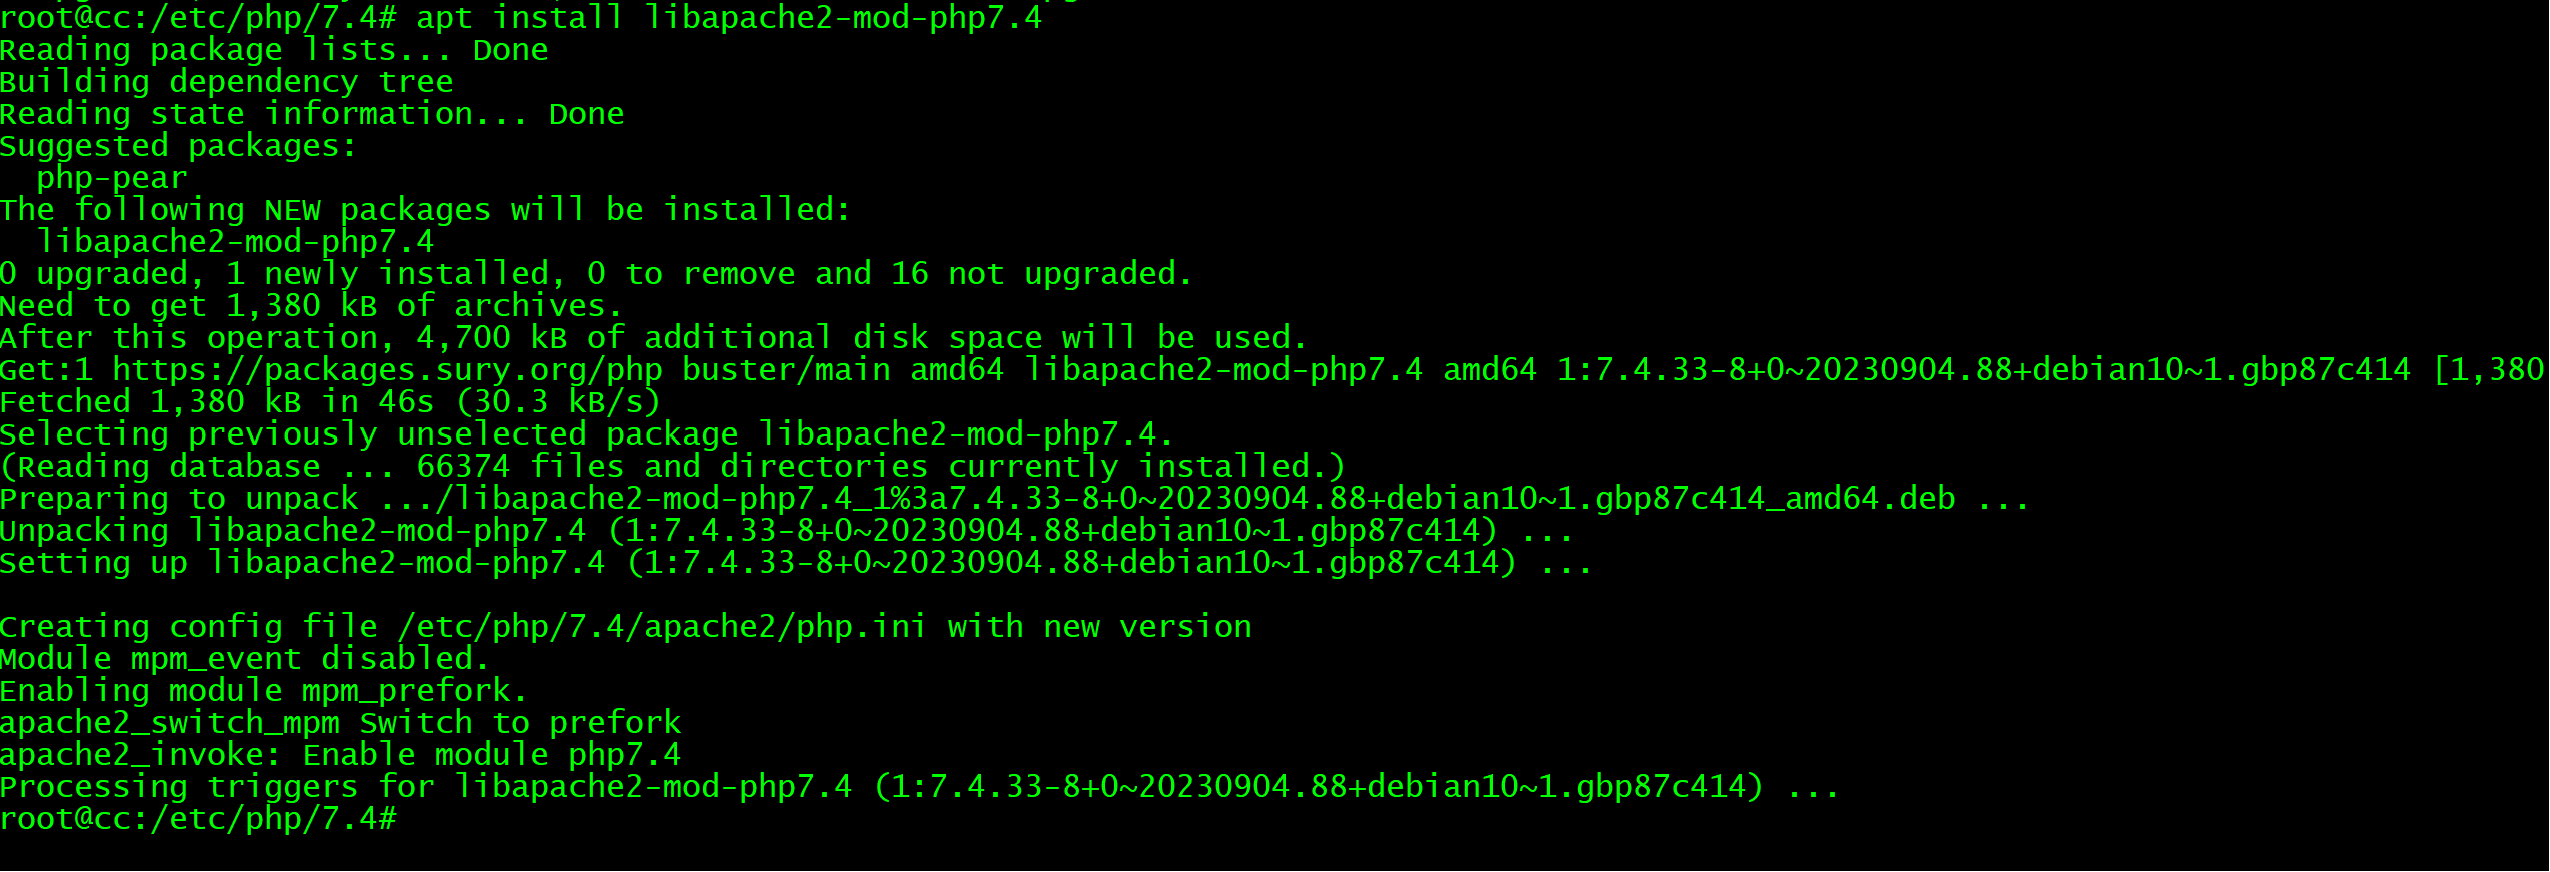
…………………………………
12、更新PHP变量.
sed -i 's/\(^upload_max_filesize = \).*/\120M/' /etc/php/7.4/apache2/php.ini
sed -i 's/\(^upload_max_filesize = \).*/\120M/' /etc/php/7.4/cli/php.ini
sed -i 's/\(^memory_limit = \).*/\1256M/' /etc/php/7.4/apache2/php.ini
…………………………………
13、下载odbc-mariadb .
cd ~
wget https://dlm.mariadb.com/3680365/Connectors/odbc/connector-odbc-3.1.20/mariadb-connector-odbc-3.1.20-debian-buster-amd64.tar.gz

tar -xvzf mariadb-connector-odbc-*.tar.gz
cd mariadb-connector-odbc-*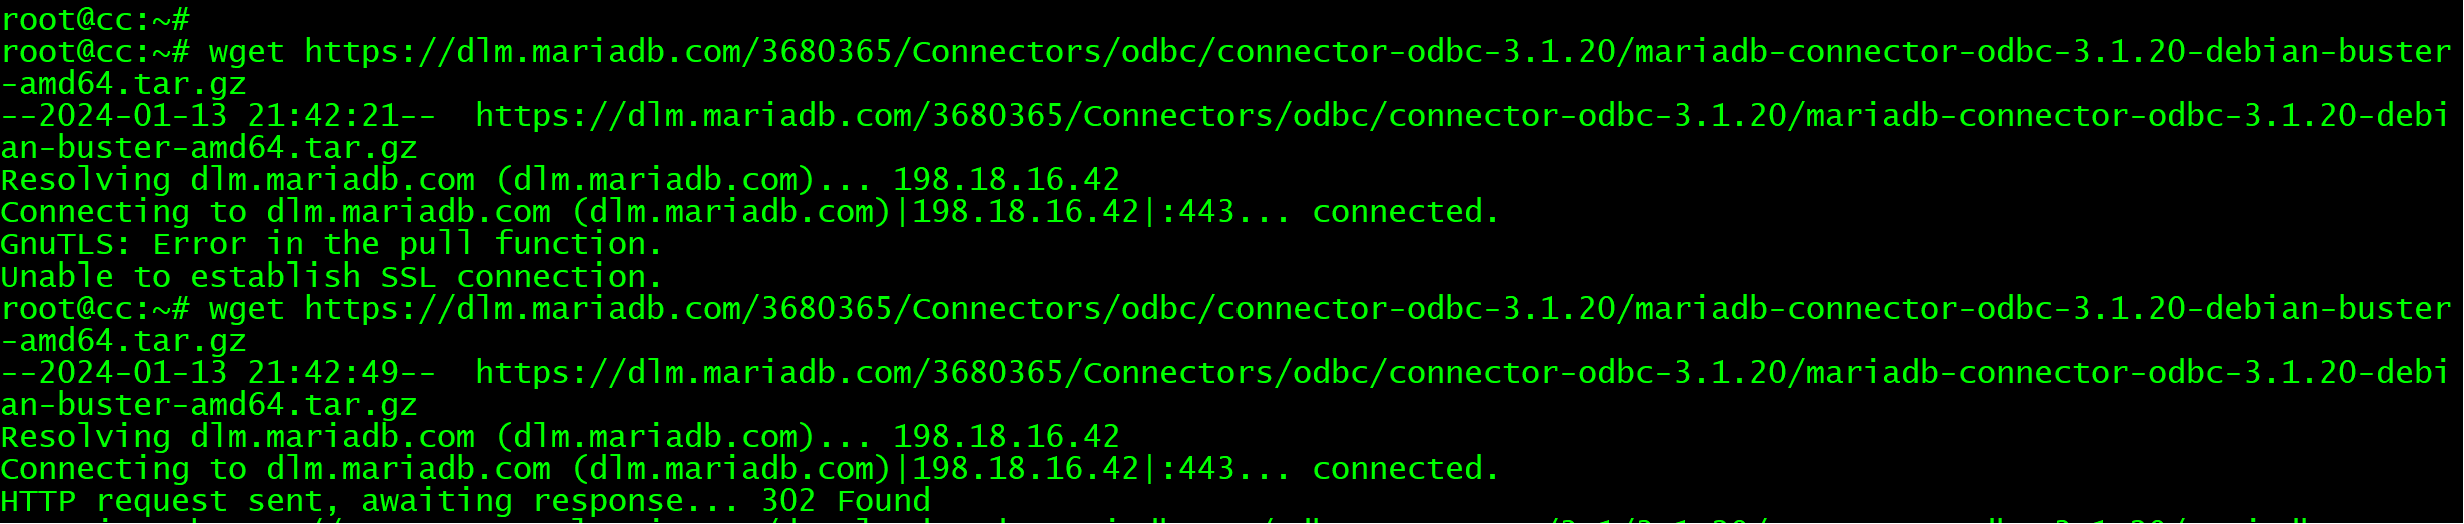
…………………………………
14. 解压odbc-mariadb
tar -xvzf mariadb-connector-odbc-*.tar.gz
cd mariadb-connector-odbc-*
…………………………………
15. 安装odbc-mariadb .
install lib/mariadb/libmaodbc.so /usr/lib/
install -d /usr/lib/mariadb/
install -d /usr/lib/mariadb/plugin/
install lib/mariadb/plugin/* /usr/lib/mariadb/plugin/
…………………………………
16. 安装FreePBX依赖 .
cd ~
apt install sox mpg123 lame ffmpeg sqlite3 git unixodbc dirmngr postfix  pkg-config libicu-dev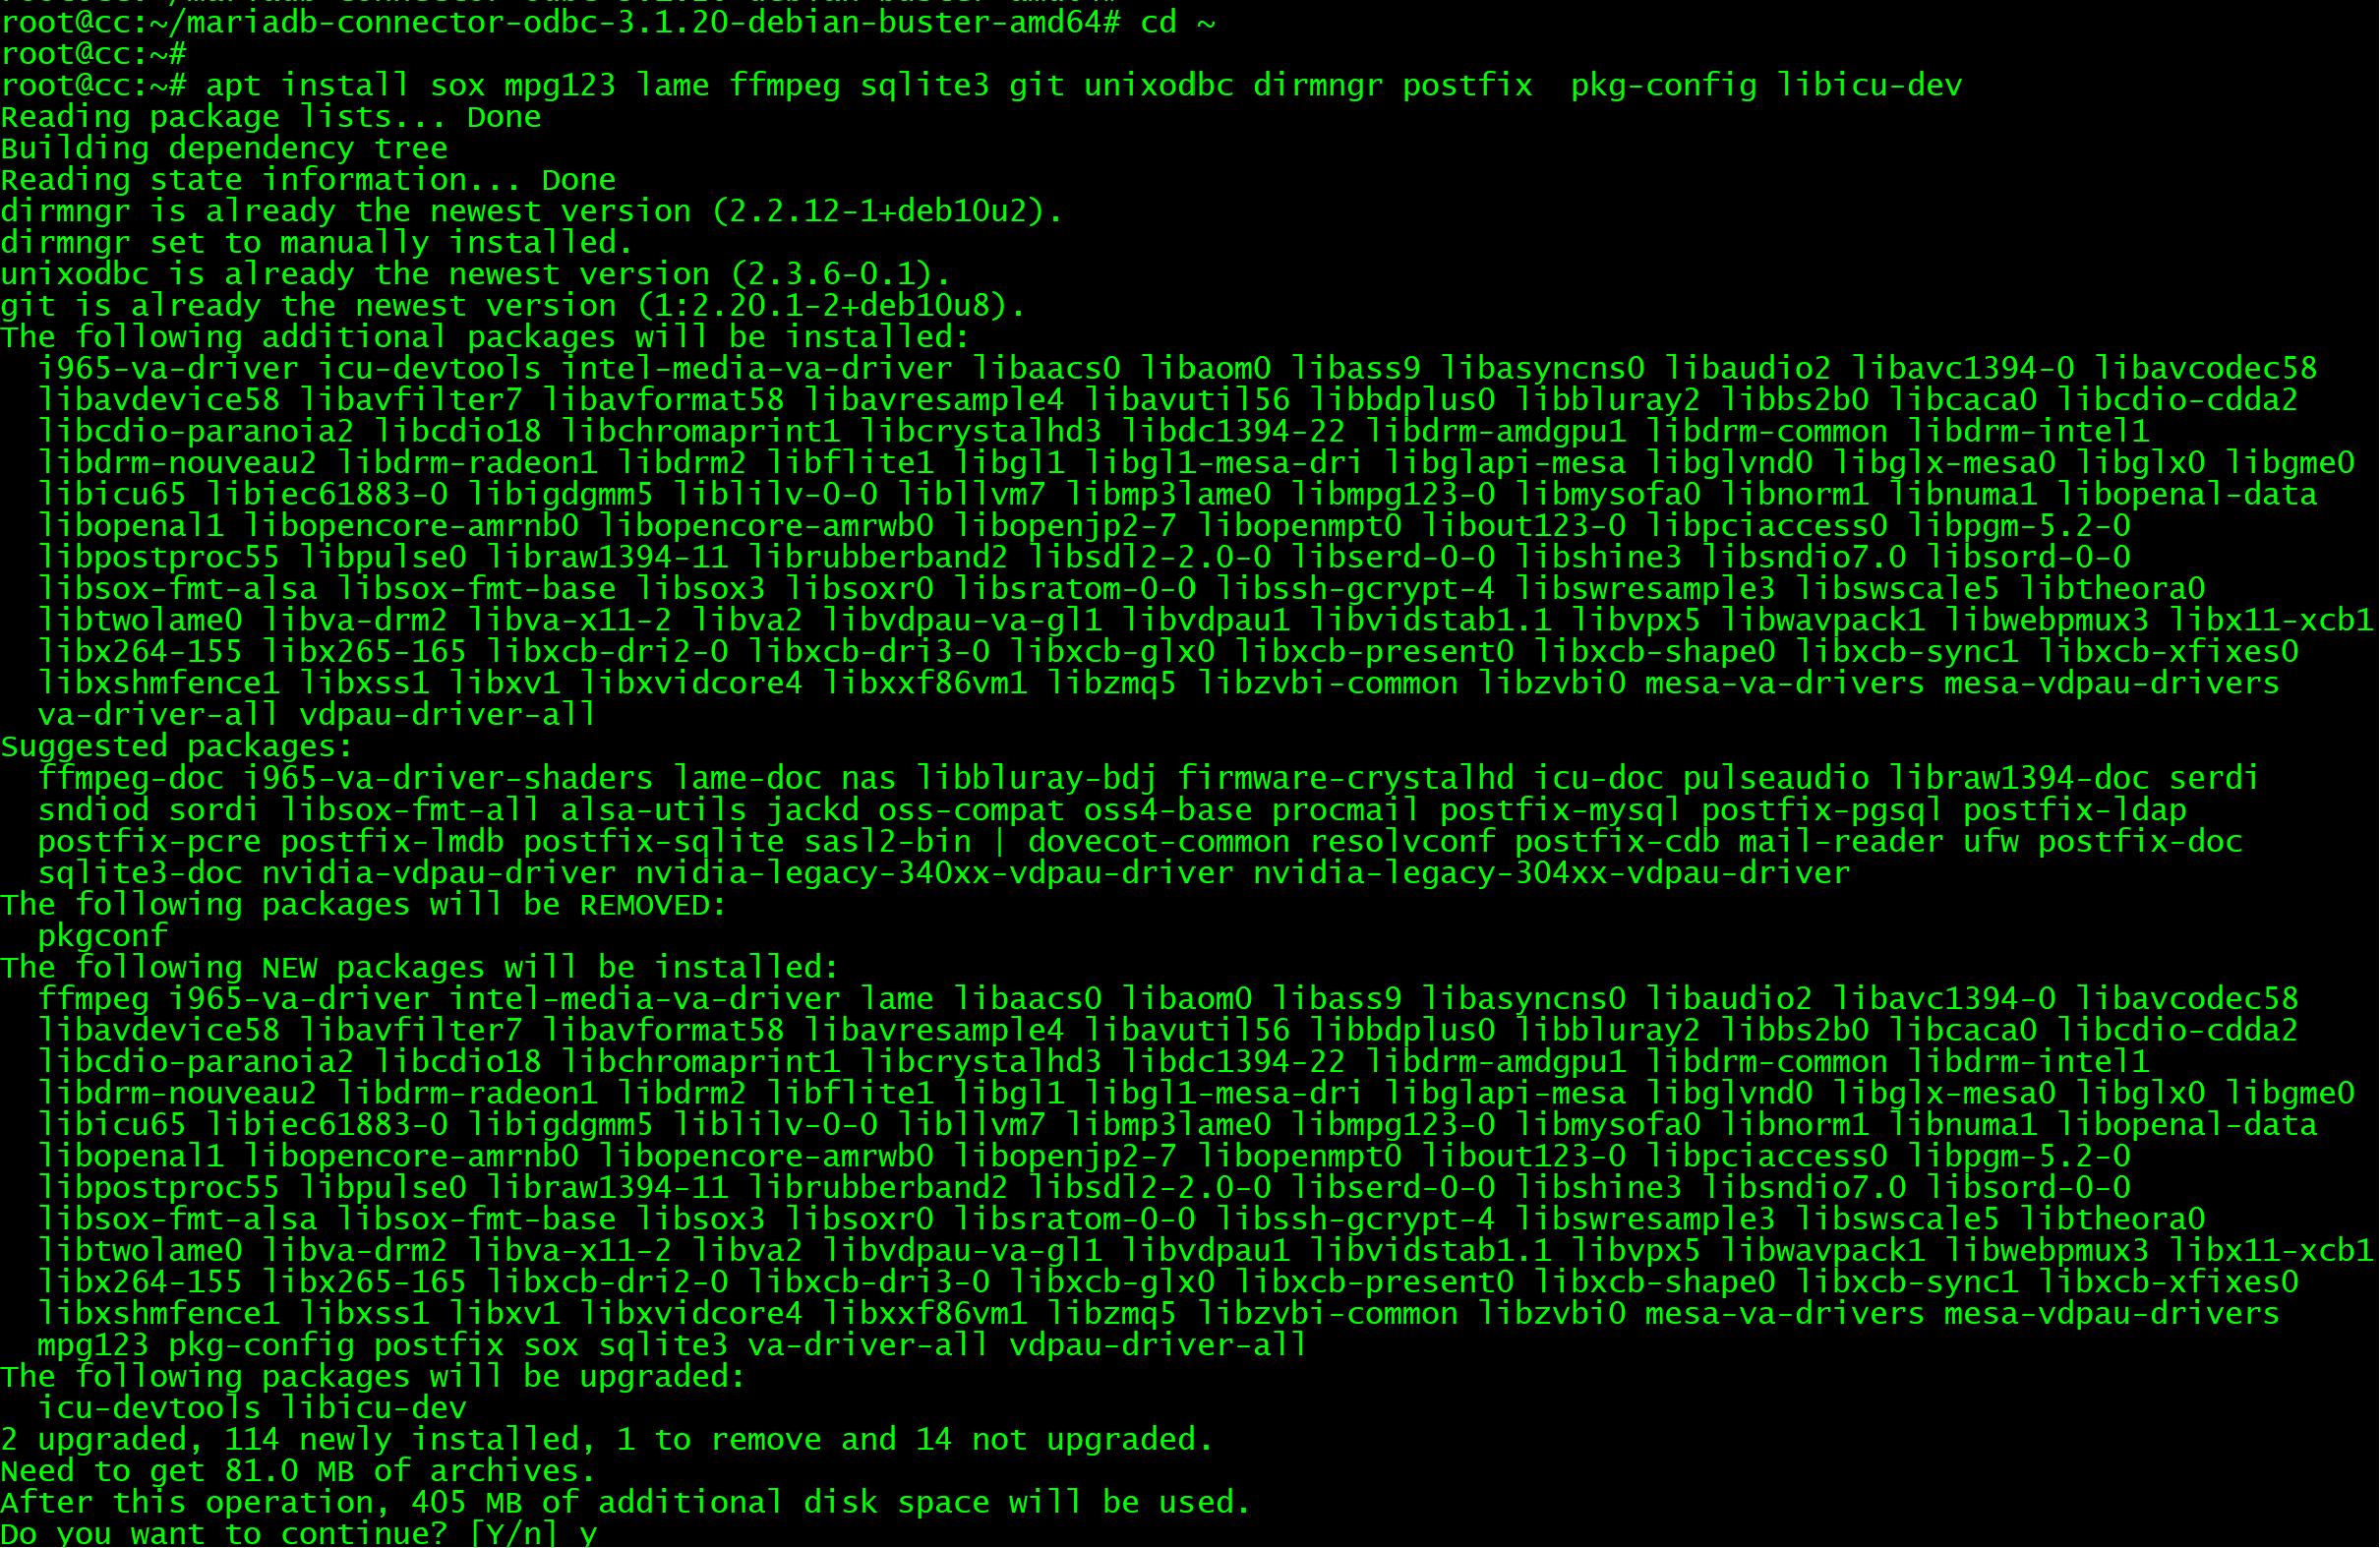
…………………………………
17、配置ODBC.
tee /etc/odbcinst.ini<<EOF
[MySQL]
Description = ODBC for MySQL (MariaDB)
Driver = /usr/lib/x86_64-linux-gnu/odbc/libmaodbc.so
FileUsage = 1
EOF

tee /etc/odbc.ini<<EOF
[MySQL-asteriskcdrdb]
Description = MySQL connection to 'asteriskcdrdb' database
Driver = MySQL
Server = localhost
Database = asteriskcdrdb
Port = 3306
Socket = /var/run/mysqld/mysqld.sock
Option = 3
EOF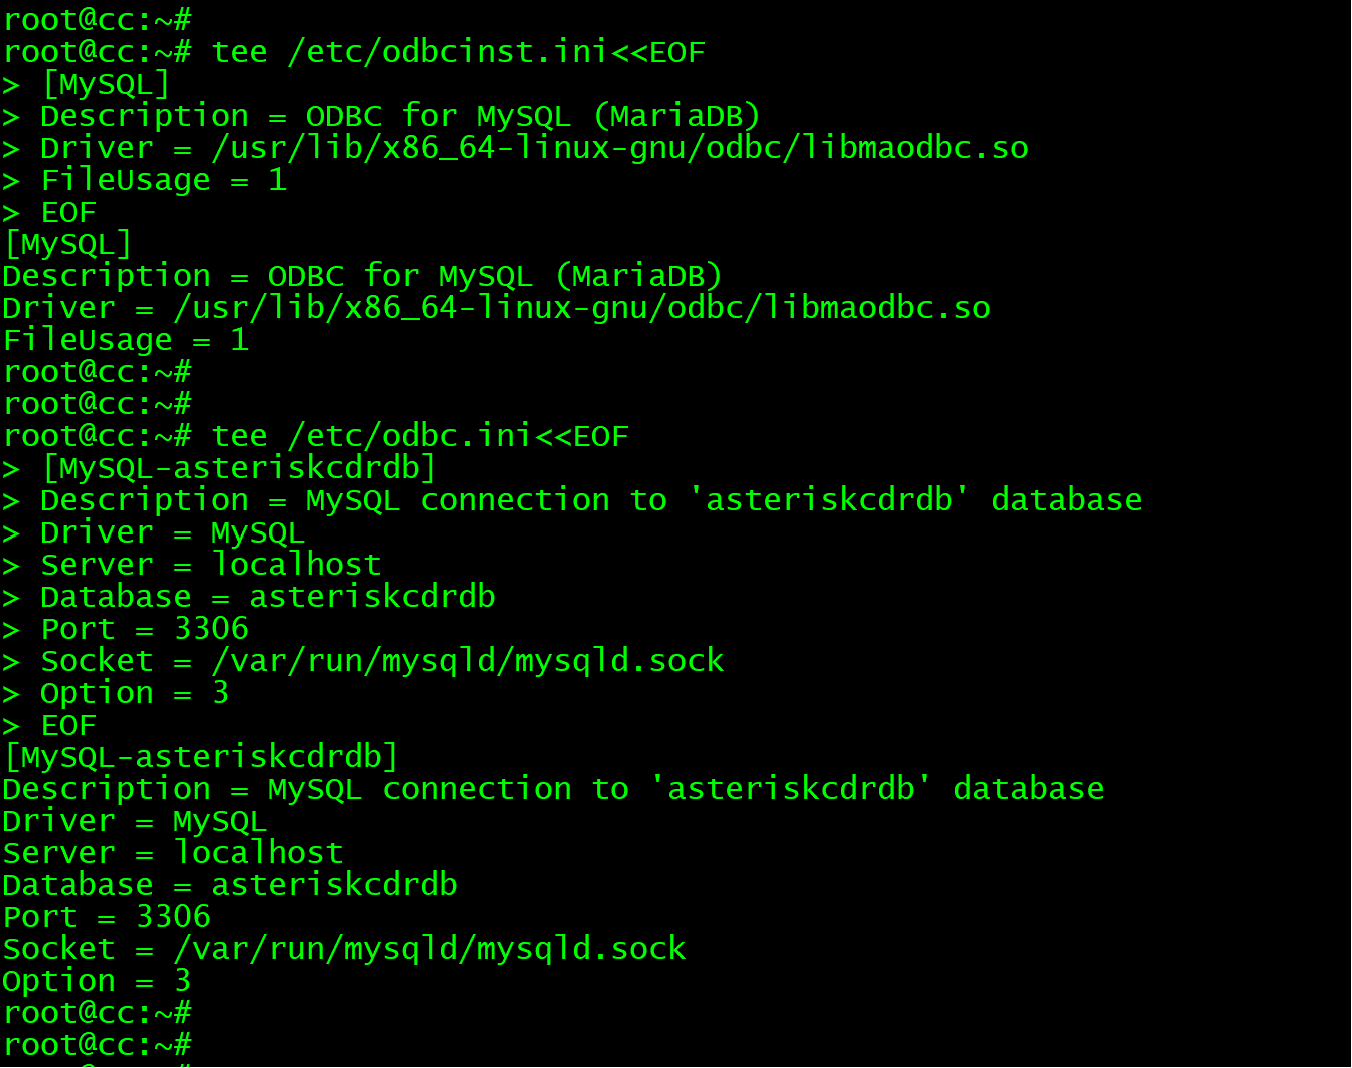
…………………………………
18、下载FreePBX16 .
wget http://mirror.freepbx.org/modules/packages/freepbx/7.4/freepbx-16.0-latest.tgz
…………………………………
19、解压文件.
tar xfz freepbx-16.0-latest.tgz
cd freepbx
…………………………………
20、安装FreePBX16.
systemctl stop asterisk
./start_asterisk start
./install -n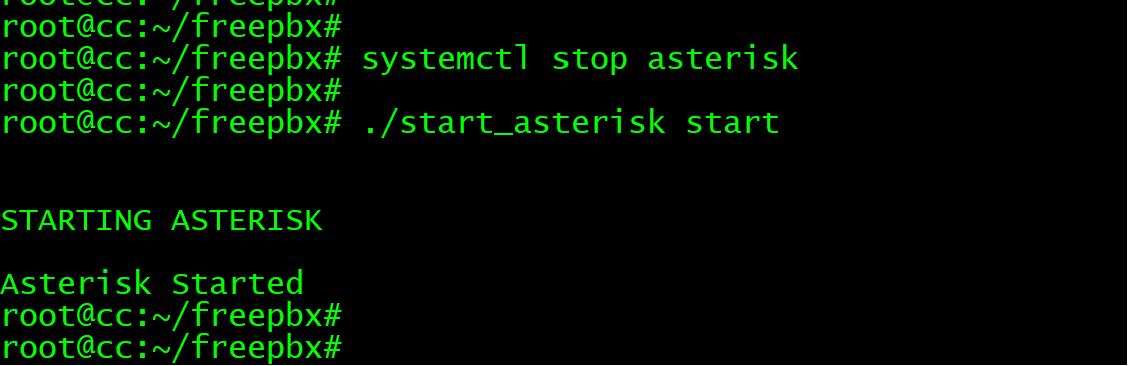
…………………………………
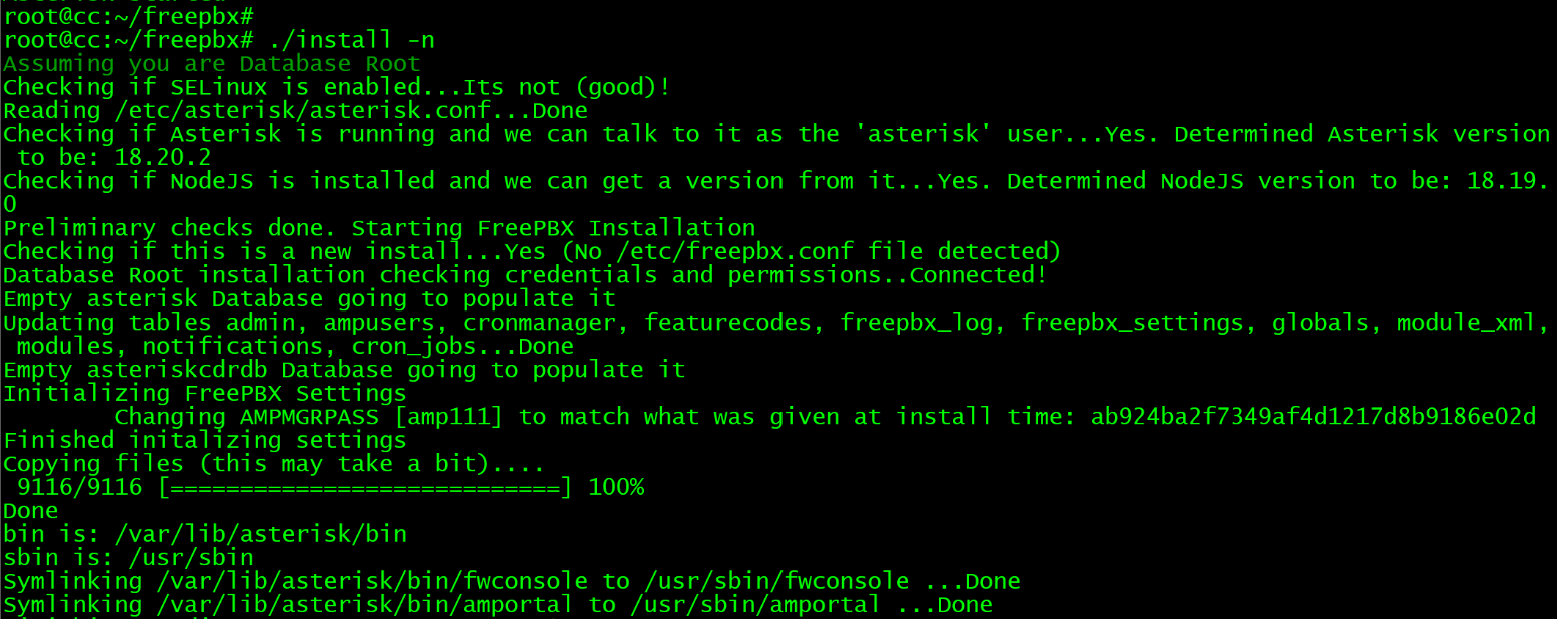
…………………………………
21、配置数据库密码.
./install -n --dbuser root --dbpass password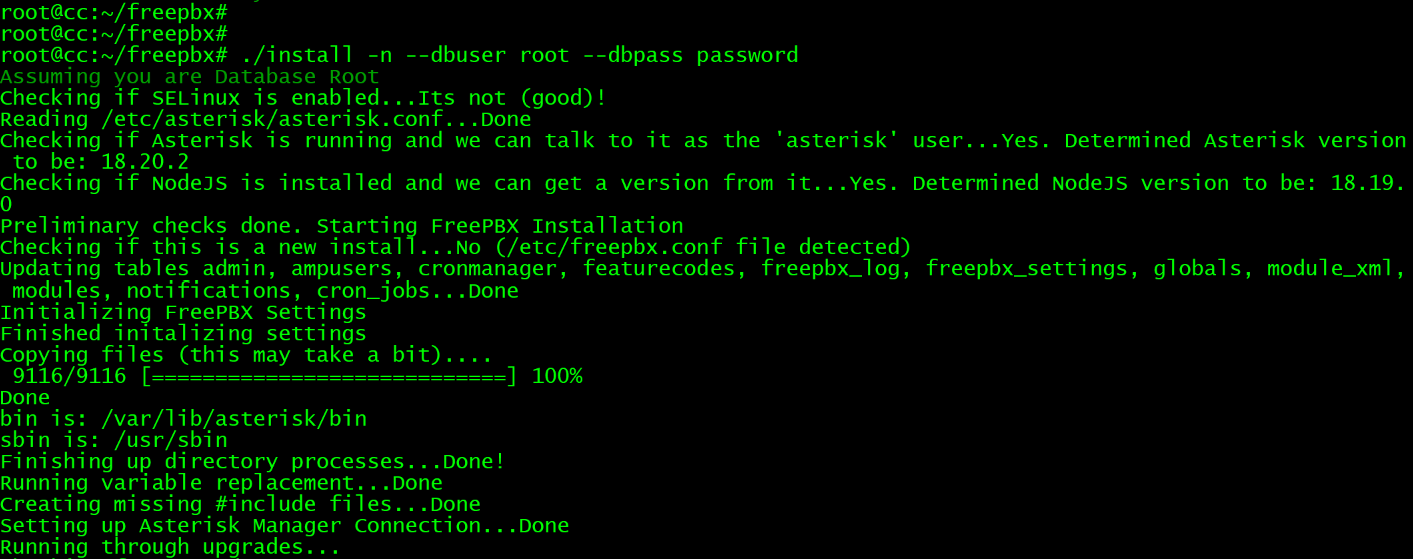
…………………………………
22、安装FreePBX模块.
fwconsole ma disablerepo commercial
fwconsole ma installall
…………………………………
fwconsole ma delete firewall
fwconsole reload
fwconsole restart
…………………………………
23、启用apache引擎并重启.
a2enmod rewrite
systemctl restart apache2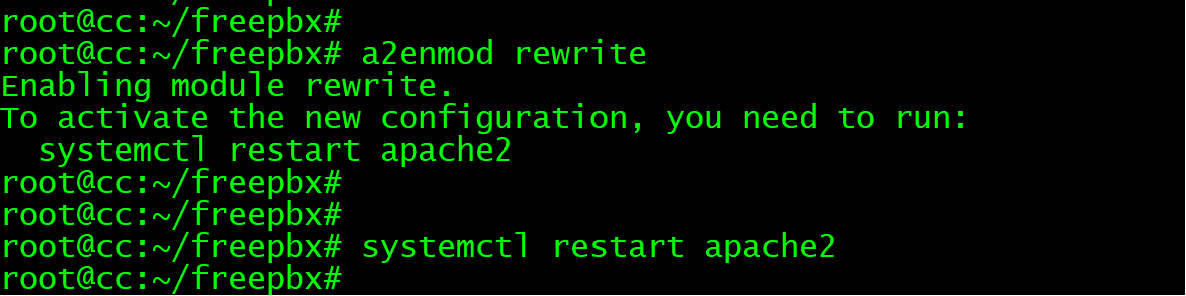
…………………………………
24、配置开机运行.
tee /etc/systemd/system/freepbx.service<<EOF
[Unit]
Description=FreePBX VoIP Server
After=mariadb.service
[Service]
Type=oneshot
RemainAfterExit=yes
ExecStart=/usr/sbin/fwconsole start -q
ExecStop=/usr/sbin/fwconsole stop -q
[Install]
WantedBy=multi-user.target
EOF
…………………………………
systemctl daemon-reload
systemctl enable freepbx
…………………………………
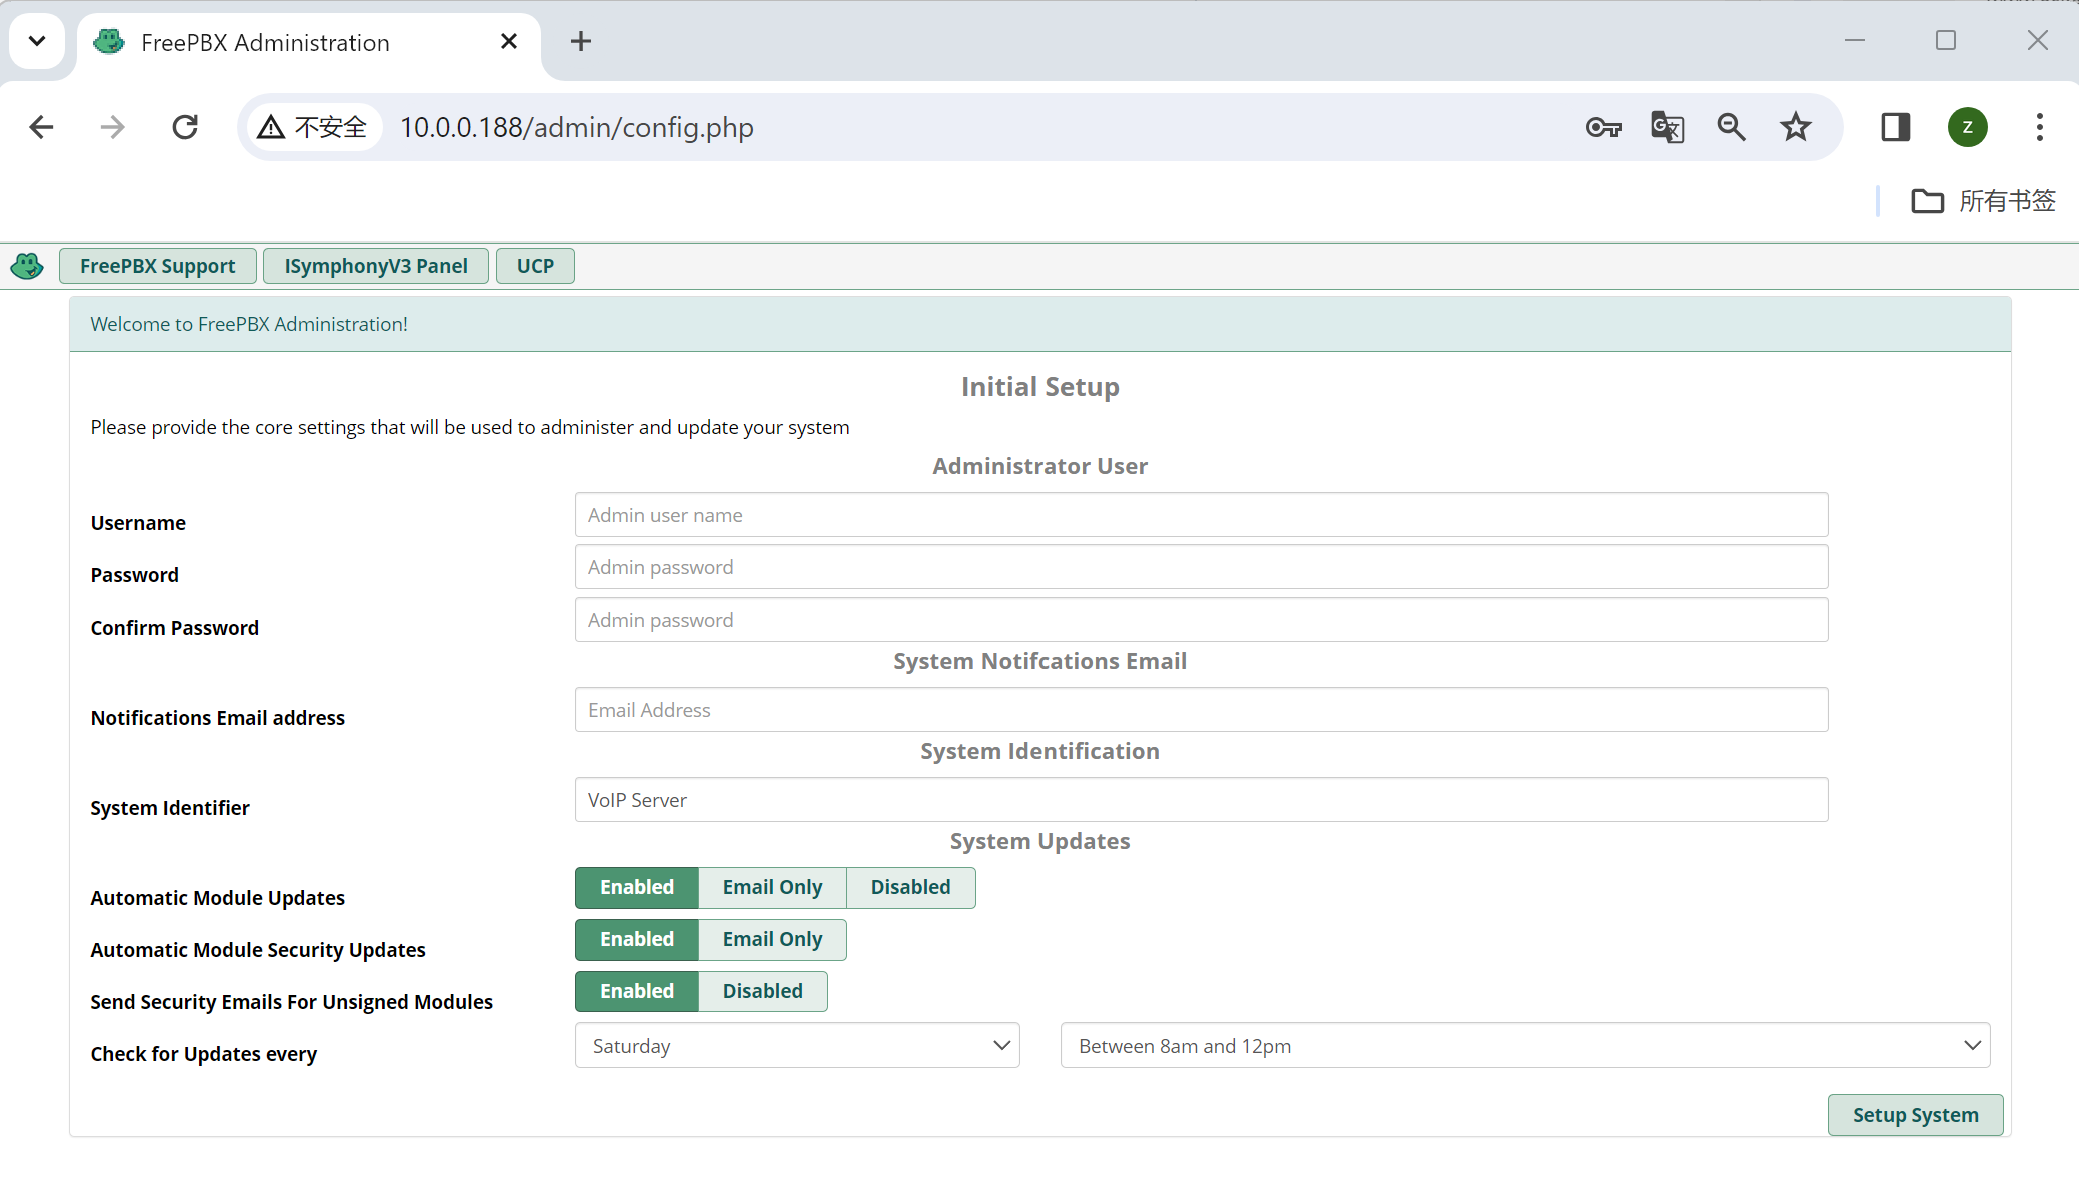
26、WEB访问FreePBX.
27、如果应用配置慢,可尝试关闭.SIGNATURECHECK.
fwconsole setting SIGNATURECHECK 0
fwconsole reload
…………………………………